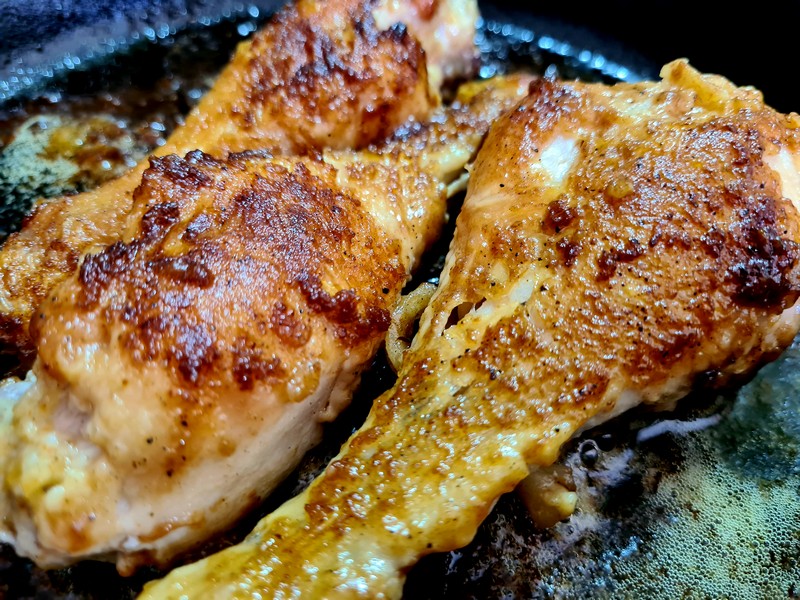
My culinary heritage: Grandma Cook’s fried chicken
As part of my culinary goals, I am revisiting my culinary heritage by re-creating and re-imagining my family recipes. This post is about one of those delicious creations!
Today’s recipe is one from my paternal grandmother’s collection: Fried chicken. And believe it or not, this is the first time I’ve made fried chicken all by myself. (Yes, really.)
Oh, yes. I am a 49-year-old woman who loves fried chicken, yet I’ve never made fried chicken. Sure, I helped my folks make it when I was growing up and I’ve seen countless people make it. But I have never actually made fried chicken before. It’s just one of those “not worth the hassle” meals, knowing I can get good fried chicken relatively easily. But I digress…
As a solo human, I didn’t want to fry a whole chicken so decided to stick with chicken legs. But my shop of choice (Waitrose) only had large 16-leg packs and as I rarely eat chicken legs, I didn’t want to stock my freezer with extras. That led me to select the “good” legs, free-range and corn-fed. (Which should be my default anyhow.)
So, with my 4 “fancy” Waitrose chicken legs purchased, I broke in my brand-new Lodge cast-iron pan (pre-seasoned, boo!*) to try my hand at fried chicken. Grandma’s recipe was super easy to follow, and in some ways unnecessary as I watched the process so many times growing up and it’s not a challenging recipe to figure out when you grew up cooking as I did.
But I want to try and stick to the family recipes as much as possible for this challenge, so that’s what I did. Mostly. The recipe is below for you to follow (or not) as you see fit.
The results were 4 very delicious and juicy chicken legs that I ate in a single meal (so no leftovers, darn!). Overall, you could say this recipe is a “winner winner, chicken dinner“.
Grandma Cook’s Fried Chicken
Ingredients
1 frying chicken, disjointed
1/3 cup Crisco
1/2 cup flour
2 teaspoons salt
Method
Dip chicken in seasoned flour. Melt 1/3 cup Crisco in an 8- or 9-inch skillet. When hot, add chicken and fry until brown on all sides. Reduce heat and cover skillet. Cook until tender, about 25 minutes. Place chicken on hot serving platter to serve.
My changes
Change from a whole fryer to just legs
Add 1 teaspoon of paprika
Add 1/2 teaspoon of fresh ground pepper
Cut salt to 1 teaspoon
I was talking with my youngest sister about this recipe (before I made it) and she said she no longer makes fried chicken because she can buy stuff that’s just as good as homemade from the local grocery store’s fresh deli. And it made me realise that the reason I’ve never made fried chicken is that I can get chicken that’s just as good from a range of shops or that other people make – and there’s no clean-up for me!
That means I may never make this again. However, I am glad I made it because it brought back so many memories of watching my parents fry chicken when I was a child. Although that didn’t make up for the fact that I still had to clean up after myself.
This isn’t really a “photo gallery” post, but as I took some photos during the process I thought I’d put them in the story just because. So, here are some photos!


* It has this weird texture to it. I don’t like it. But it’s all they do now. I guess that’s for people who don’t know how to season their cast iron properly. Oh well…
Discover more from Just Frances
Subscribe to get the latest posts sent to your email.
